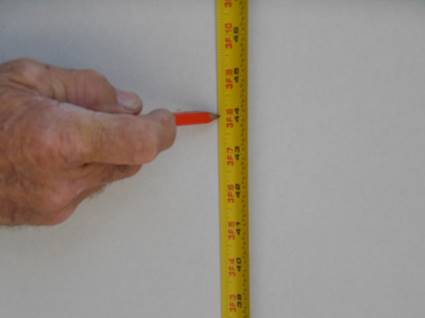
Step 1: Measure up from the floor 44 inches. Make a mark with pencil.
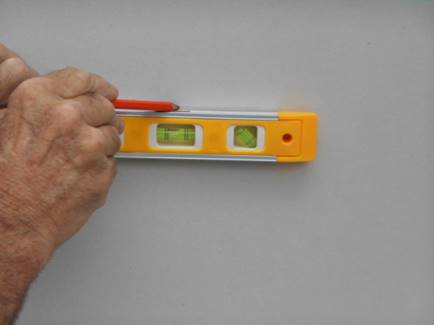
Step 2: Hold the cleat on the mark, using the level provided. Make sure the cleat is level.
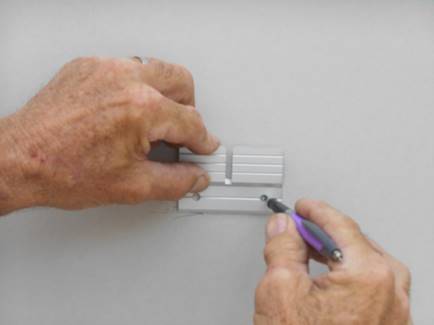
Step 3: Hold the bottom of the cleat on the mark and mark both holes with a pencil.
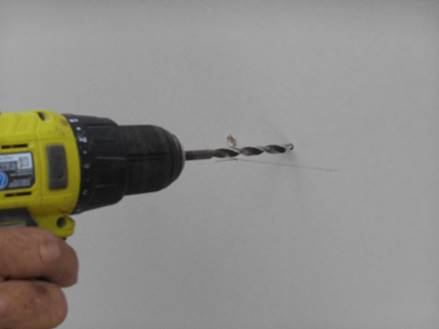
Step 4: Using ¼ inch drill bit, drill both holes.
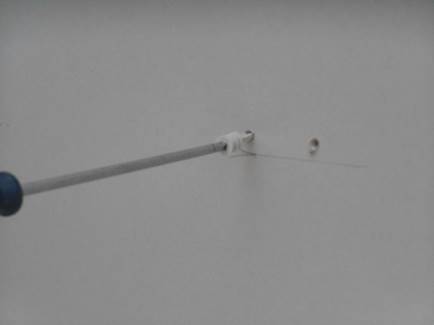
Step 5: Screw in the wall anchors using a Philip head screw driver.
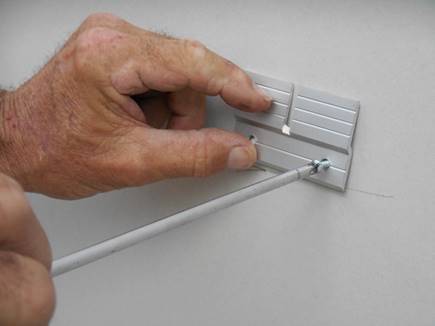
Step 6: Install the bottom cleat with screws provided.
Step 7: Hold the spacer stick provided, in the groove, to the left side (as shown below).
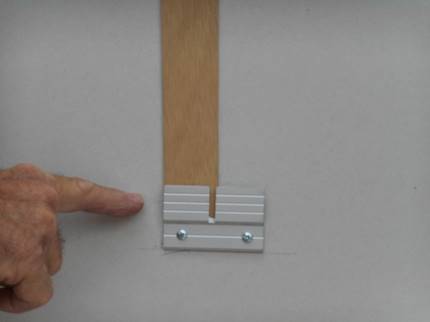
Step 8: Using the level provided, make a mark on the top left side of the spacer stick. Make another mark on the top of the spacer stick horizontally. This will be the bottom of the top cleat.
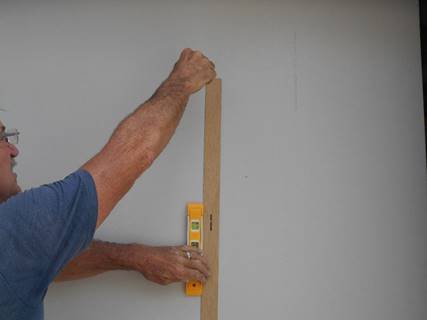
Step 9: Hold the bottom of the top cleat on the marks, ensuring that its level. Repeat Steps 3 through 5.
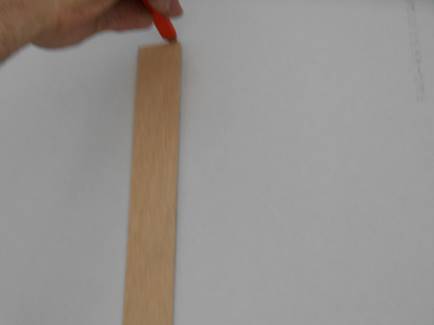
Step 10: Secure top cleat with screws provided.
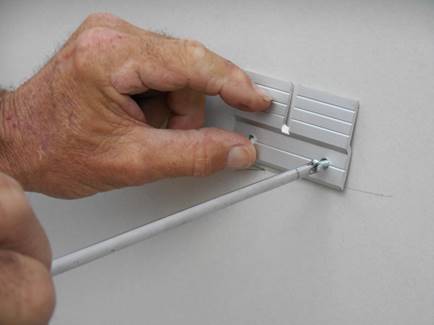
Step 11: Support game board is now ready to be installed.
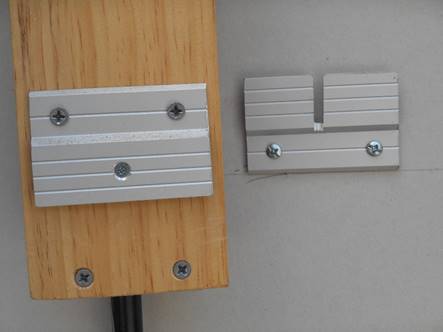
Step 12: Hold the support board slightly above the wall mounted cleats.
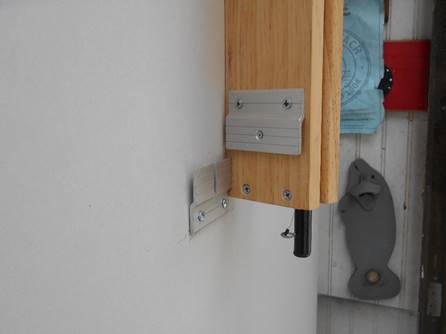
Step 13: Press the support board against the wall and gently slide down into the wall mounted cleats.
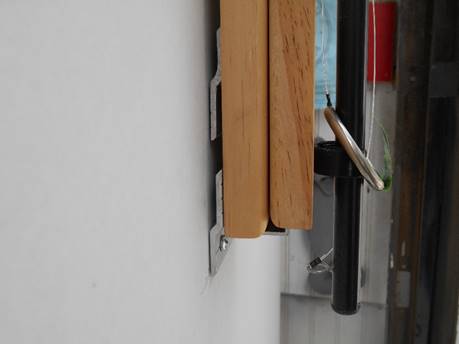
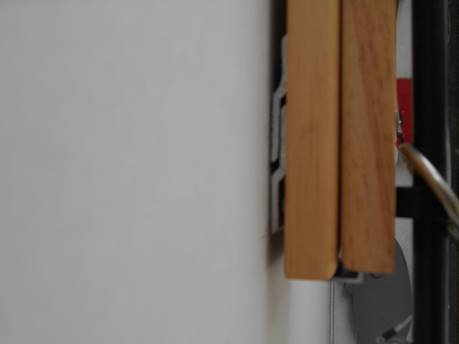
Step 14: Ensure board is positioned and sturdy. Board shouldn’t move from side to side if lined up properly.
Step 15: Telescopic ring support poll is now ready to be opened. Open to a 90 degree angle, until you hear a click into position.
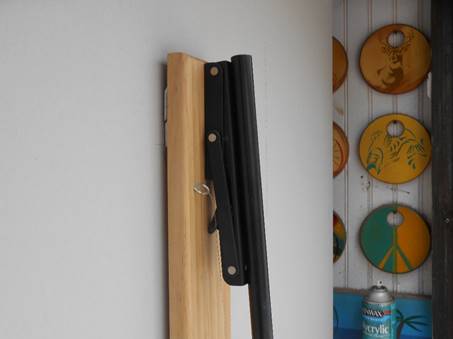
Step 16: Remove the steel ring from the end and house in the support post provided.
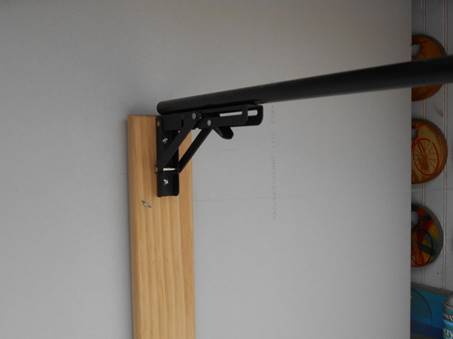
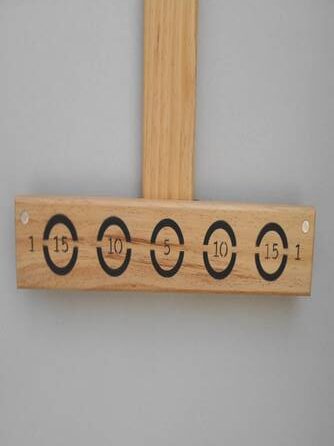
Step 17: Remove the scoreboard by gently sliding upwards. Rotate the board horizontally and flip it over so the numbers are facing you.
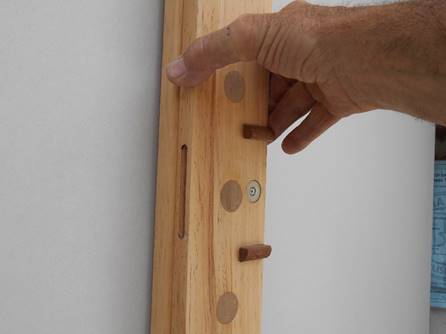
Step 18: Now gently slide the scoreboard back down into the U-channel, provided on the support board. Roll back into position so that it clicks.
Step 19: Turn the clutch counter-clockwise and pull the extension out until it stops. Secure the clutch clockwise until tight.
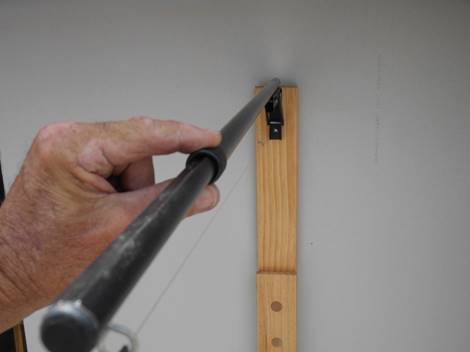
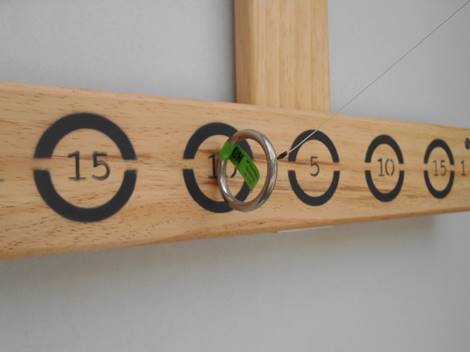
Step 20: You are now ready to play. Stand back approximately 12 feet. Swing the steel ring until you connect with the magnetic scoreboard.